Getting Started
Start using VisualSVN for Visual Studio with this guide.
Add Solution to Subversion
First you need to place your solution under Subversion control. There are only two main steps to do this: execute the “Add Solution to Subversion” command and commit your solution to the repository.
Open or create new solution in Visual Studio. Then choose Add Solution to Subversion from the VisualSVN menu command and the wizard will open.
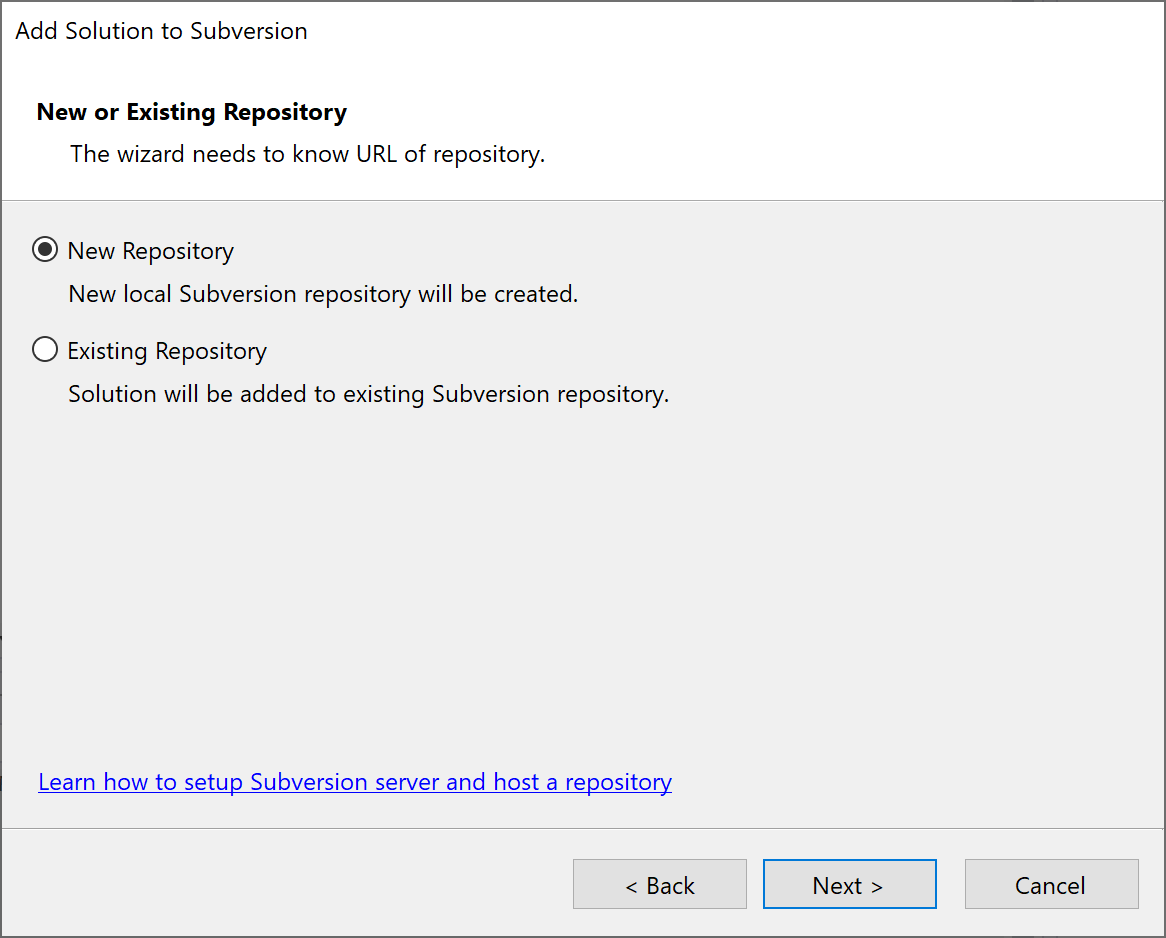
Now you choose the directory where your code will be stored. VisualSVN can add your code to a new or an existing repository. When VisualSVN creates new repository it creates the default repository structure with branches, tags and trunk folders. Initially your code will be stored in the trunk folder.
Please note that when adding your code to an existing repository you can choose any remote repository. For example, you can easily add your solution to a hosted repository provided by third-party hosting services. Just enter the repository URL in the corresponding field in the dialog.
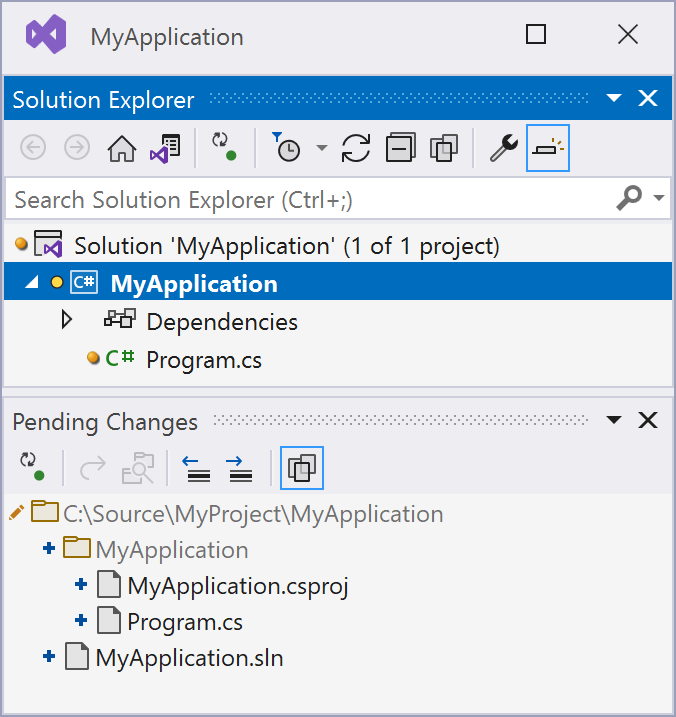
After this operation is finished all source files and folders in your solution will be marked as added to Subversion. Added files will be indicated by yellow icons in Solution Explorer. But all changes are still local and have not been sent to the target repository yet. This allows you to review the results of adding your solution to Subversion before the operation is finished.
Commit Solution to Subversion
Although files in your solution are marked as added to Subversion they still are not committed. Only your local working copy is affected and files are not transferred to the repository.
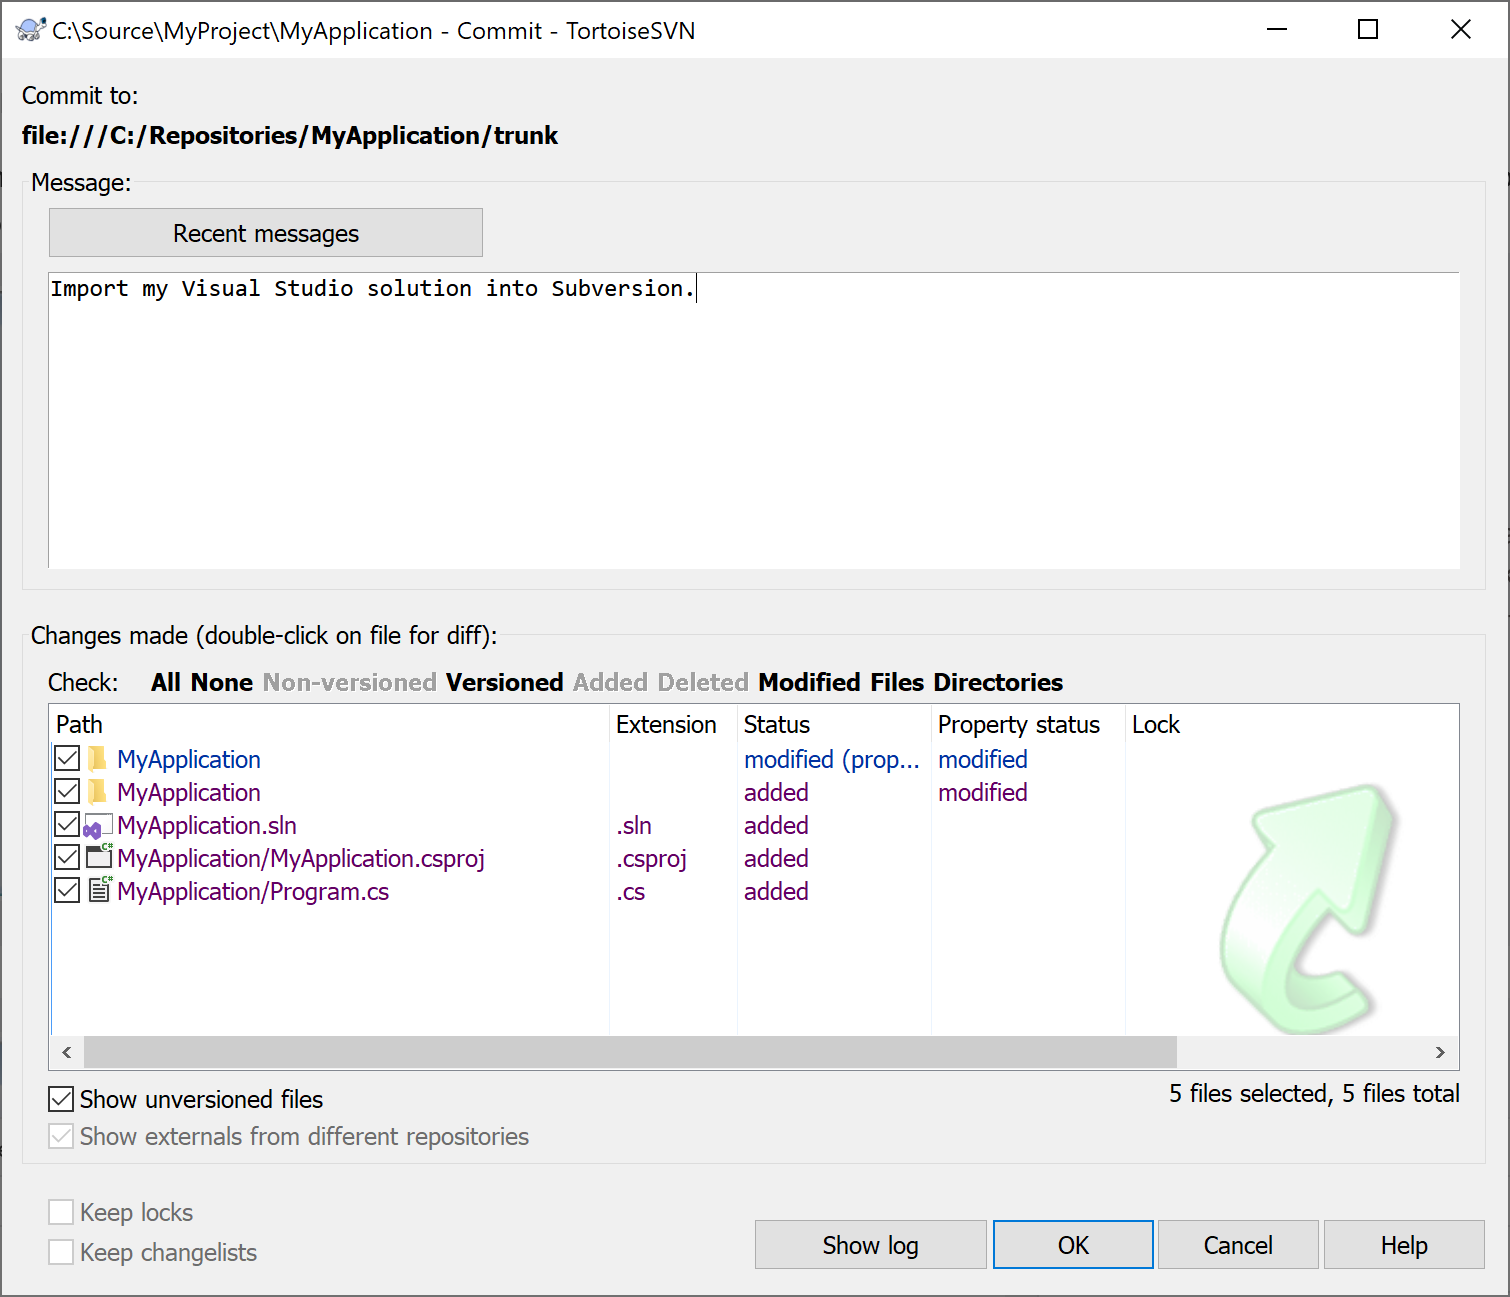
To commit your solution to Subversion, select | menu item, enter a comment and click OK. The first versions of your source files will be sent to the target Subversion repository.
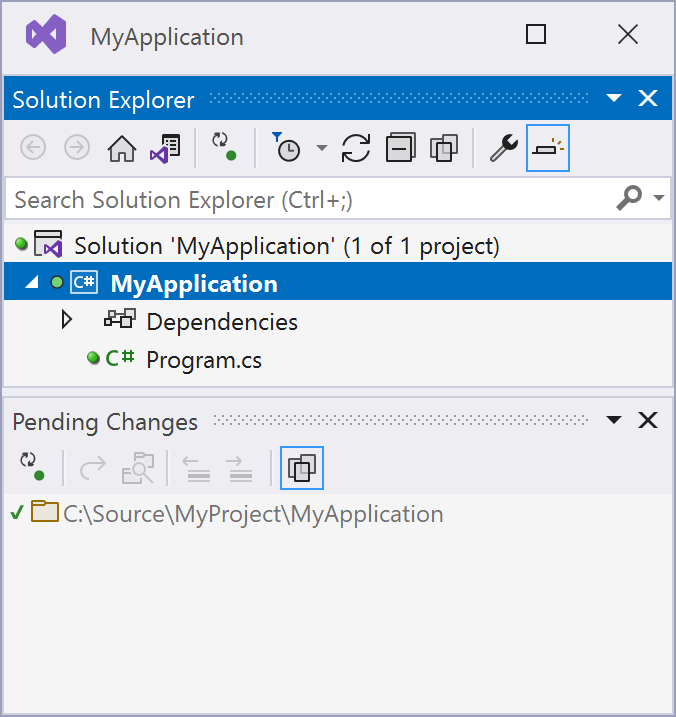
After you committed your solution to Subversion you should see green icons in Solutions Explorer indicating that your code is controlled by Subversion and you have no local changes. You are ready to work!
Basic Work Cycle
VisualSVN has numerous features, but on a day-to-day basis you will use only a few of them. In this section we'll describe the most common things that you might find yourself doing with VisualSVN in the course of a day's work.
The typical work cycle looks like this:
- Update your working copy
- Make changes
- Examine your changes
- Possibly undo some changes
- Merge others' changes
- Commit your changes
Update your working copy
When working on a project with a team, you'll want to update your working copy to receive any changes made by other developers on the project since your last update. Use the | menu item to bring your working copy in sync with the latest revision in the repository.
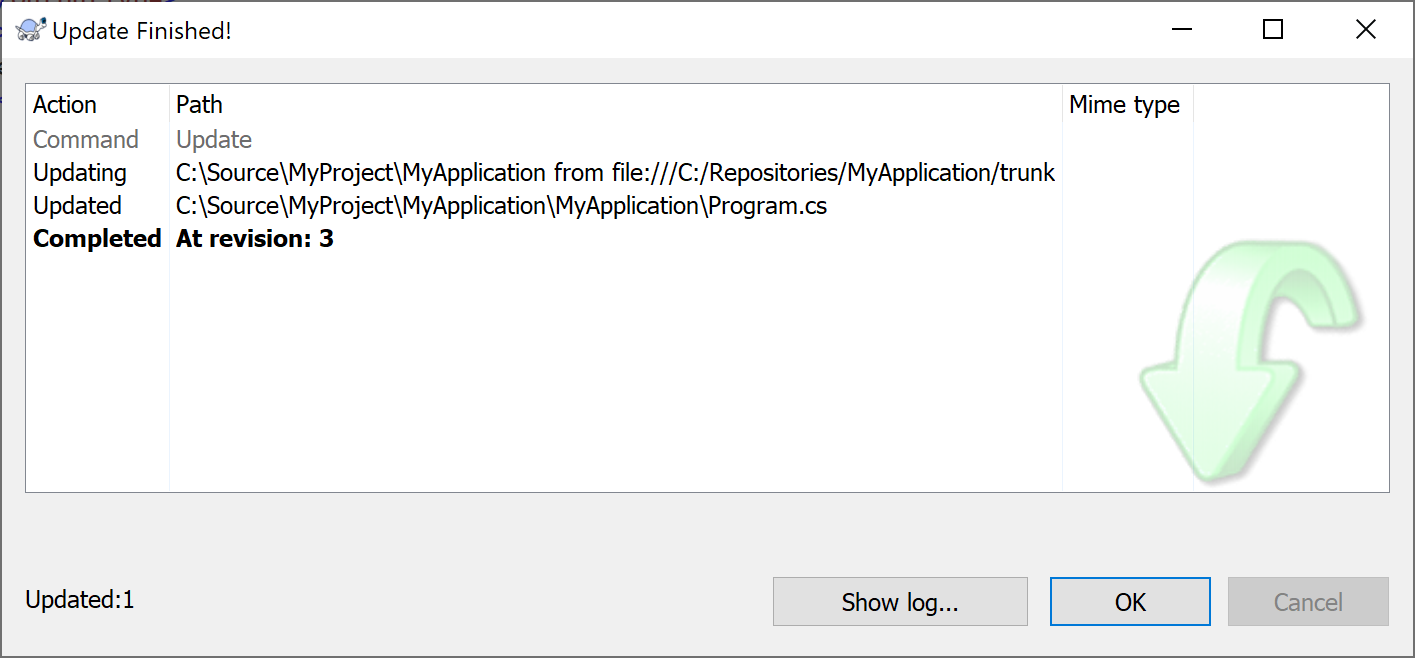
While updating you'll see TortoiseSVN's Update window that will show you which files of your solution are need to be updated.
Make changes
Now you can get to work and make changes in your working copy. It's usually most convenient to decide on a discrete change (or set of changes) to make, such as writing a new feature, fixing a bug, etc.
You don't need to tell VisualSVN that you intend to make a change. Just make your changes using a text editor or Solution Explorer and VisualSVN automatically detects which changes have been made.
Please note that all your changes are local to your own working copy until you commit them to the repository.
Examine Your Changes
Once you've finished making changes, you need to commit them to the repository, but before you do so, it's usually a good idea to take a look at exactly what you've changed. By examining your changes before you commit, you can write a more accurate log message. You may also discover that you've inadvertently changed a file, and this gives you a chance to revert those changes before committing them. Additionally, this is a good opportunity to review and scrutinize changes before publishing them.
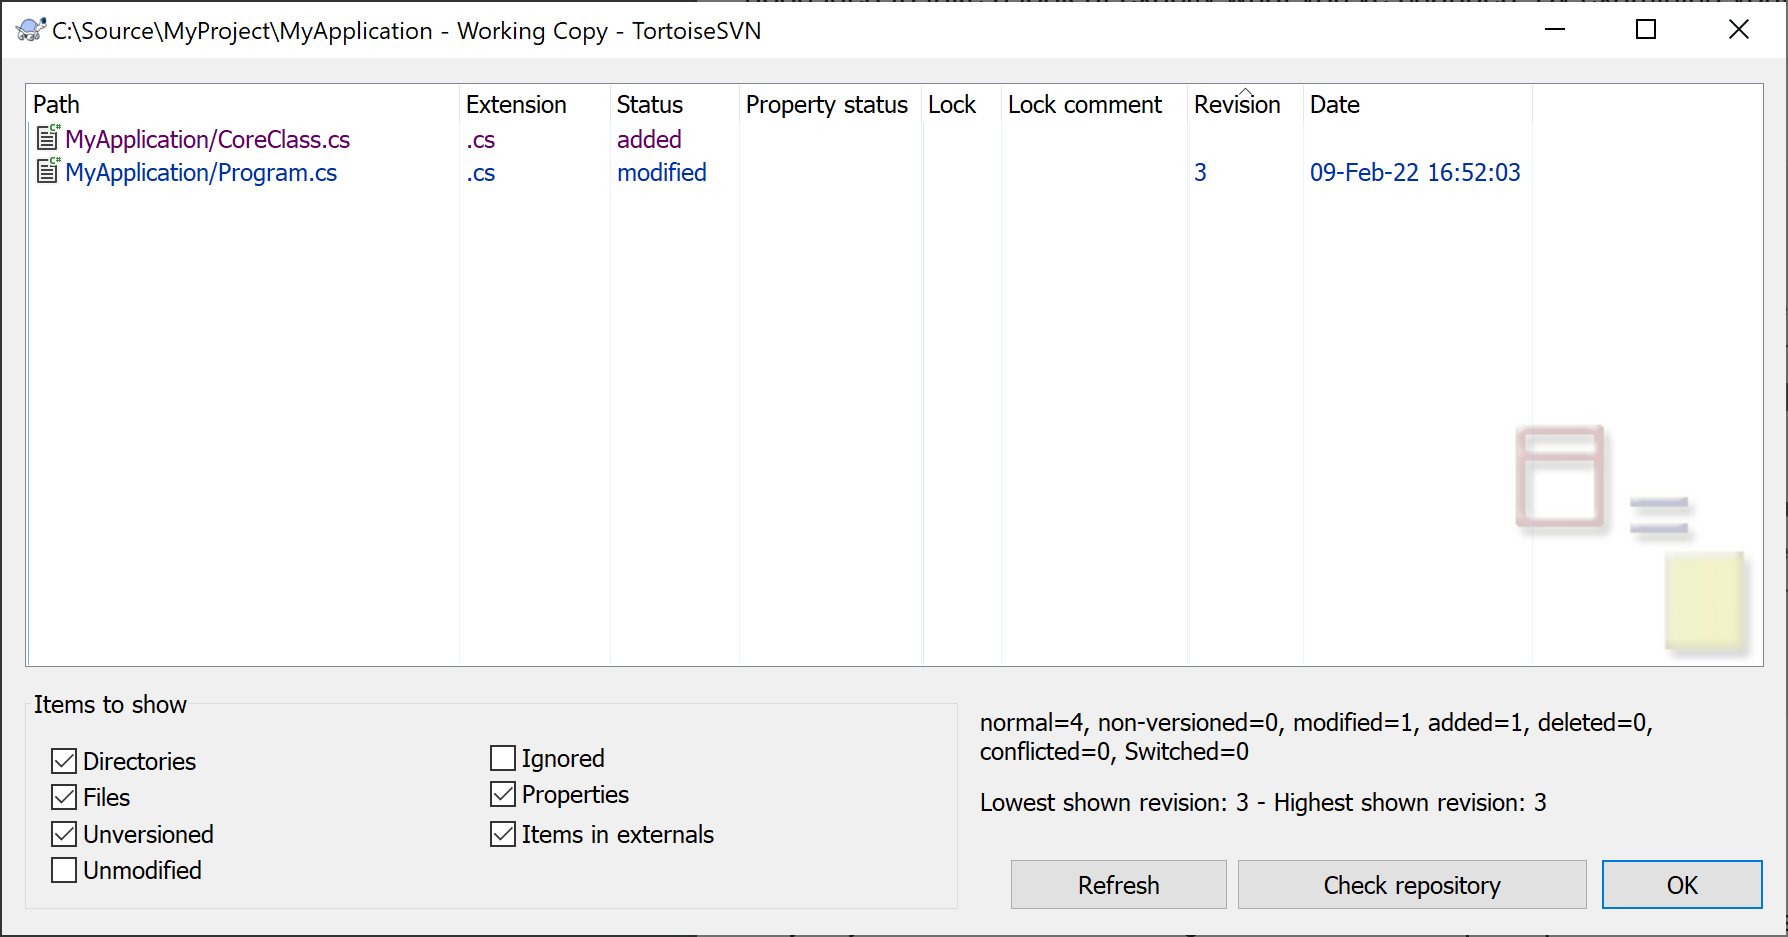
You can see an overview of the changes you've made by using TortoiseSVN's Show Changes window. To open the window choose the | command on the main menu.
Please note that you can examine your changes without network access. This makes it easy to manage your changes-in-progress even when you are somewhere without a network connection.
Possibly undo some changes
Suppose while examining your changes you determine that all the changes you made to a particular file are mistakes. Maybe you shouldn't have changed the file at all, or perhaps it would be easier to make different changes starting from scratch.
This is a perfect opportunity to use the | main menu command. You'll see TortoiseSVN's Revert window where you can examine and undo some of your changes.

Subversion reverts the file to its pre-modified state by overwriting it with the
cached “pristine” copy from the
.svn area. You can also undo any directory modifications.
For example, you might decide that you don't want to rename a file after all.
Merge other's changes
It often happens that while you've been working on your changes, somebody else already finished and committed their own changes to the repository. Thus it's a good idea to merge any changes into your working copy before commiting. Just choose | main menu command and all changes committed by others but not reflected in your working copy will be incorporated into your working copy.
Let's suppose that you and your collaborator both edited the same file at the same time. Fortunately this is not a problem in most cases and simultaneous changes will be merged by Subversion. However, sometimes Subversion can't automatically merge changes within a file and this file is marked as “conflicted”. You will be notified about conflicted files in TortoiseSVN's Update window.
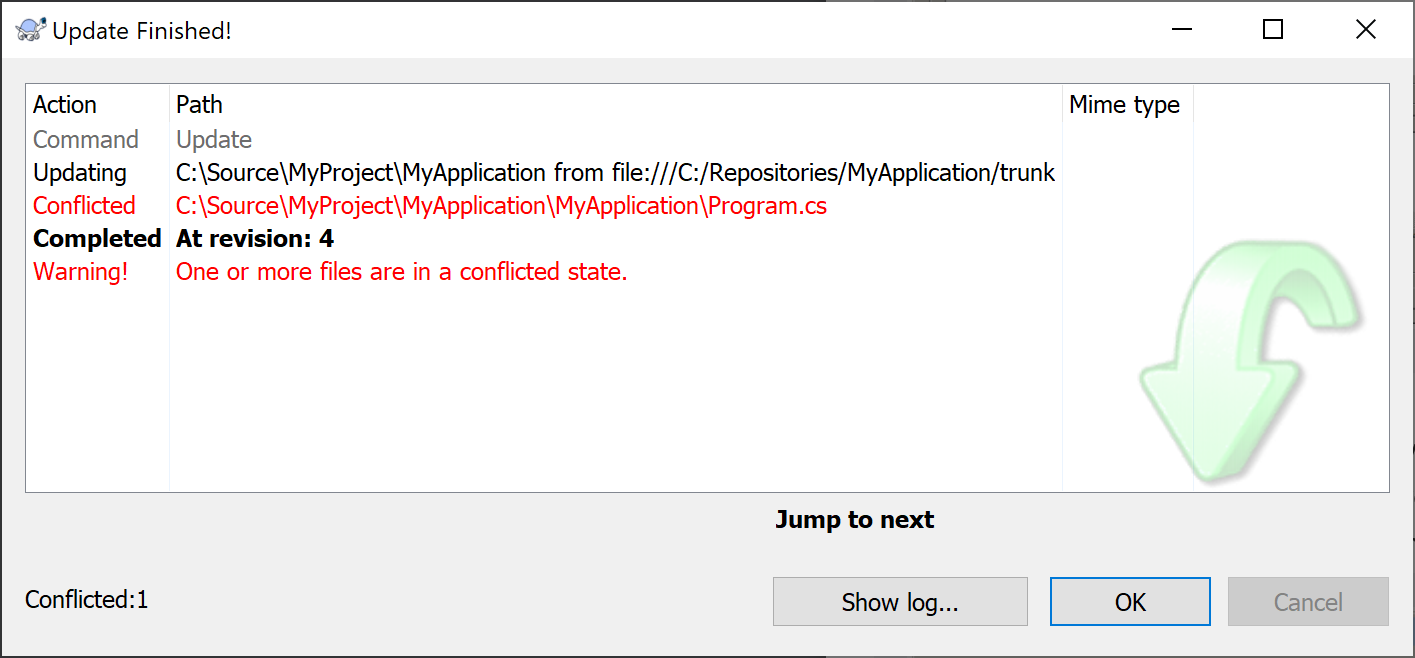
For further details about resolving conflicts please consult the chapter called Resolve Conflicts (Merging Other's Changes) in the Version Control with Subversion book.
Commit your changes
Your edits are finished, you've merged all changes from the server into your working copy, and you're finally ready to commit your changes to the repository.
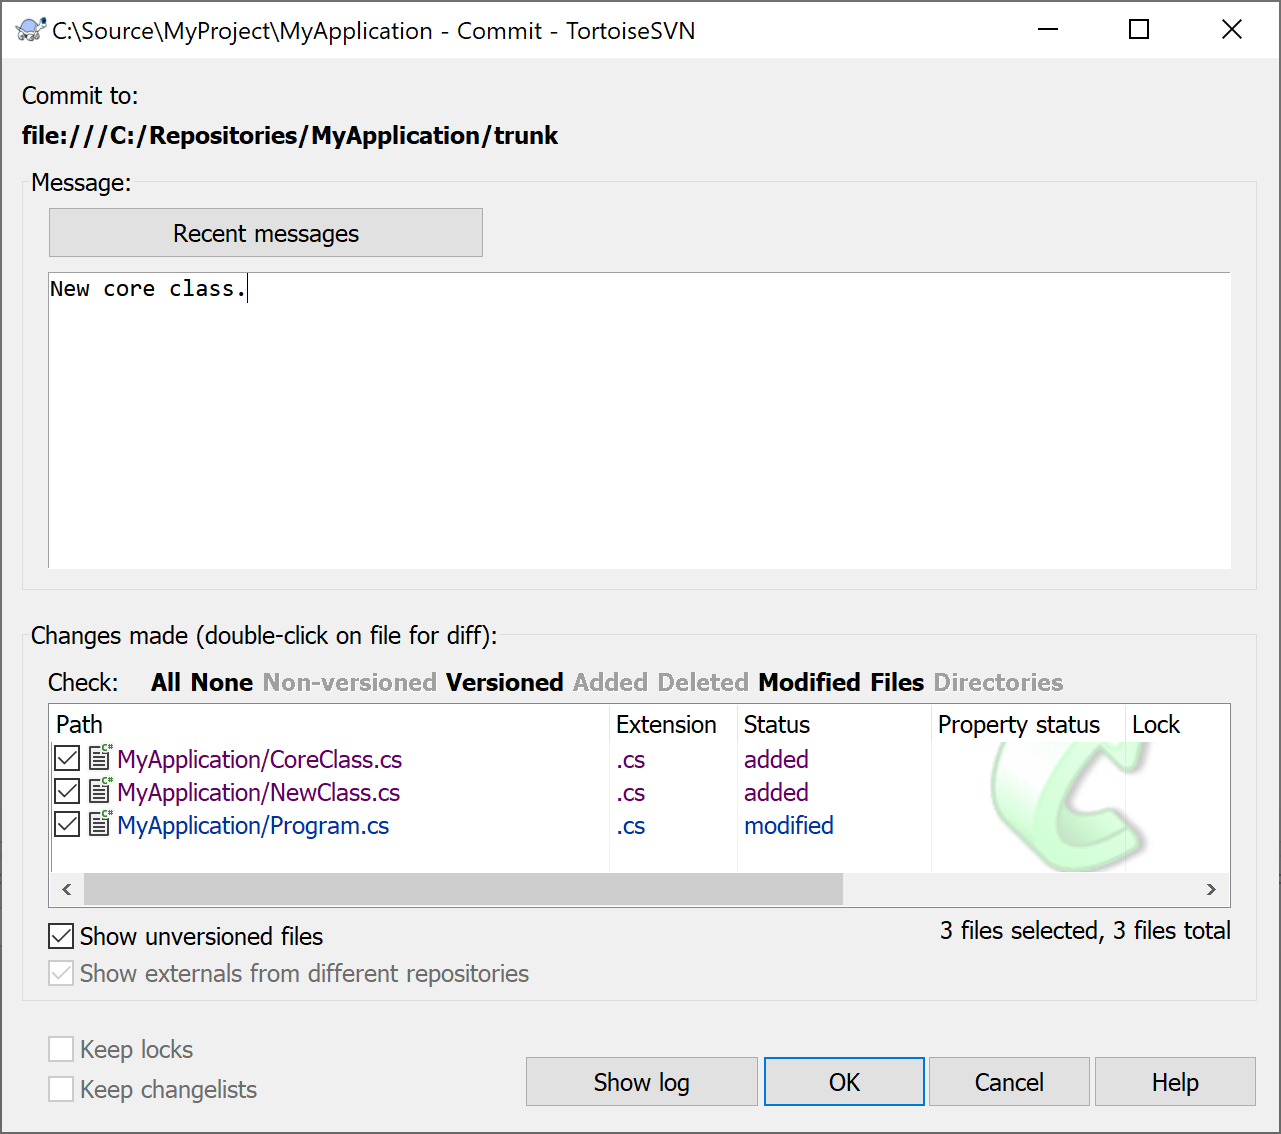
Please choose the | main menu command to send all of your changes to the repository. When you commit a change, you need to supply a “log message”, describing your change. Your log message will be attached to the new revision you create.
The repository doesn't know or care if your changes make any sense as a whole; it only checks to make sure that nobody else has changed any of the files that you changed when you weren't looking. If somebody has done that, the entire commit will fail with a message informing you that one or more of your files are out-of-date:
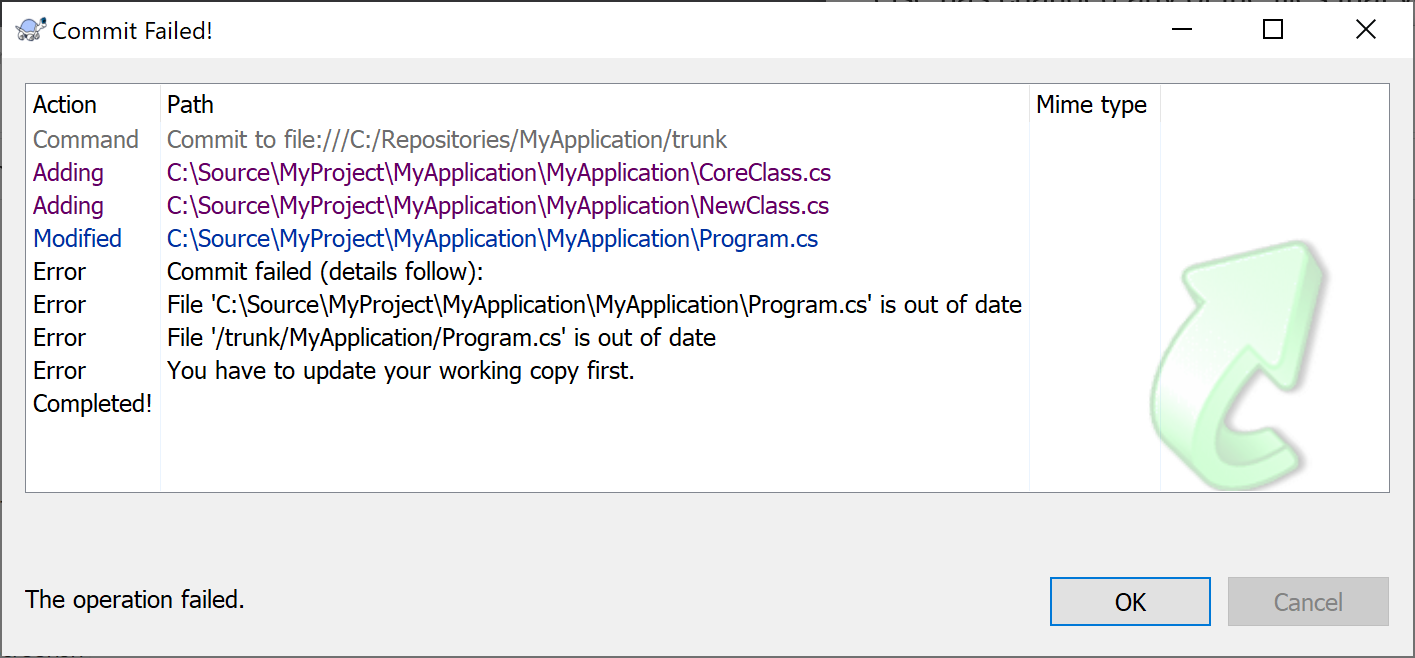
At this point, you need to update your working copy, deal with any merges or conflicts that result, and attempt your commit again.
That covers the basic work cycle for using VisualSVN. There are many other features in VisualSVN that you can use to manage your repository and working copy, but most of your day-to-day use of VisualSVN will involve only the commands that we've discussed so far in this chapter. We will, however, cover a few more commands that you'll use fairly often.